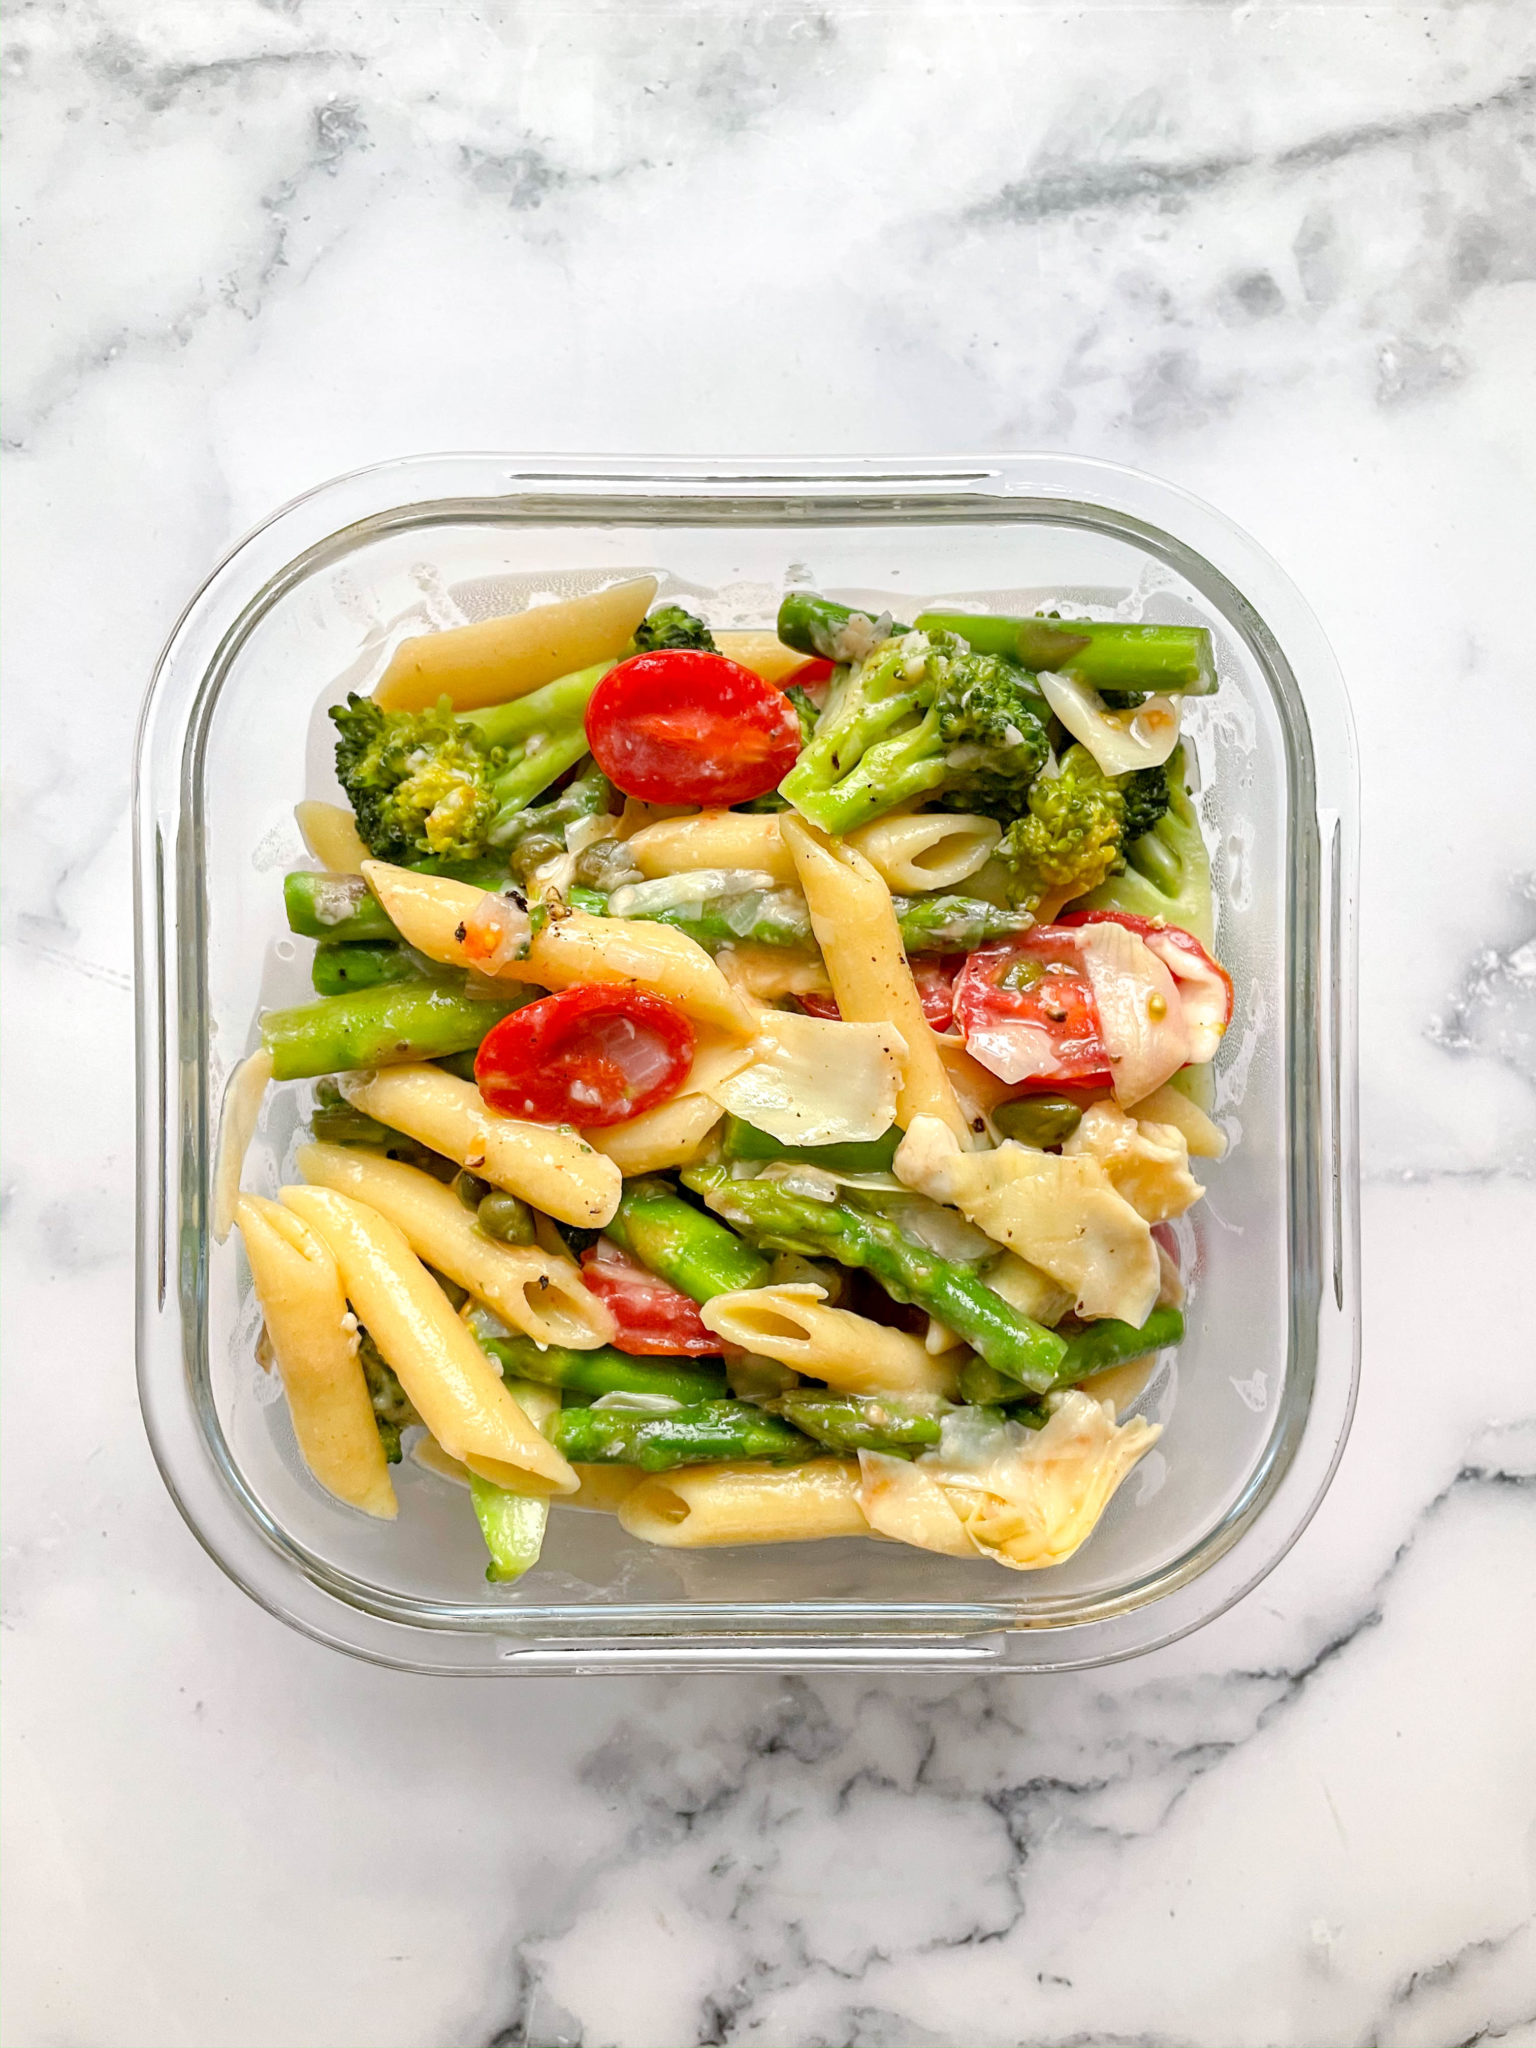
Meal Prep Pasta Primavera
Serves 415 mins prep15 mins cook
Learn how to make a quick and flavorful one-skillet pasta dish with fresh vegetables, artichokes, and a buttery lemon-parmesan sauce. Perfect for meal prep and easy weeknight dinners!
0 servings
What you need
tbsp butter, or olive oil
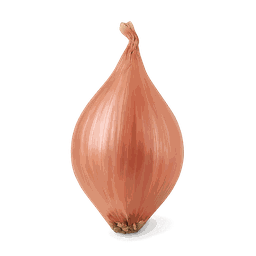
shallot, diced

oz short pasta, such as used penne
cup water

tsp salt
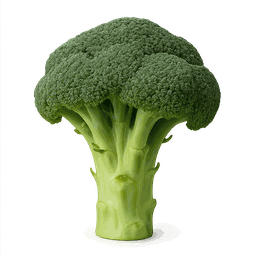
head broccoli, cut into 1-inch pieces

bunch asparagus, cut into 1-inch pieces
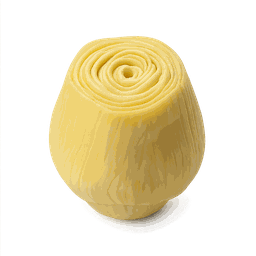
oz artichoke hearts, drained and chopped

oz cherry tomato, or grape tomatoes, halved
tbsp capers, optional, or chopped olives
clove garlic, minced or grated

lemon, juiced

cup parmesan

tsp red pepper flake, optional
Instructions
Prepare the Shallots
0 In a big skillet over medium heat, melt the butter. Add the shallot and a pinch of salt, and cook for 2-3 minutes until the shallot has softened and darkened slightly in color.
Cook the Pasta
1 Add the pasta, water, and a bit more salt to the skillet. Increase the heat to medium-high and bring the mixture to a boil, uncovered. Once boiling, reduce the heat to medium. Stir the pasta frequently to prevent it from sticking. Continue cooking for 5-7 minutes, until most of the water is absorbed and the pasta is almost al dente.
Add the Vegetables
8 Stir in the broccoli and asparagus. Keep cooking, stirring frequently, until the vegetables are bright green and tender, and the pasta is fully al dente, about 3-4 more minutes.
Make the Sauce
2 At this point, there should be a small amount of water left in the skillet to help create the sauce. Add the artichoke hearts, tomatoes, capers, garlic, 1/2 the lemon juice, butter, and Parmesan cheese. Stir everything together with a sturdy spatula, ensuring the butter and Parmesan melt into the sauce evenly.
3 Taste the pasta, vegetables, and sauce and add salt and pepper. Add more lemon or capers if necessary, and add red pepper flakes if you like heat.
Divide for Meal Preps
4 Transfer the pasta to the containers with a large spoon. Once all the pasta is divided, spoon in any leftover sauce into the meal prep containers equally. If there is a lot of extra sauce, put some in a separate container to use to add to the pasta when you reheat it. Once the pasta has cooled, put the lids on and transfer to the fridge. That's it!
View original recipe